Dressings and Bandages Information
A dressing is used to protect a wound and prevent infection, but also to allow healing. A dressing should be large enough to totally cover the wound, with a safety margin of about 2.5 cm on all sides beyond the wound. A sterile dressing may be used to control bleeding from a major wound or to absorb any discharge from a minor wound.
Dressings vary greatly in nature and size, so it is important to select the correct dressing for use on a specific wound. A sterile dressing which is past its expiry date should NOT be used.
A bandage is used in combination with a dressing where a wound is present. A roller bandage is used to secure a dressing in place. A triangular bandage is used as an arm sling or as a pad to control bleeding. It may also be used to support or immobilise an injury to a bone or joint or as improvised padding over a painful injury. A tubular gauze bandage is used to retain a dressing on a finger or toe.
Dressings
Sterile Wound Dressings
Wound dressings will be in a sterile packet, which should be opened carefully by a person with clean or gloved hands. Then, to avoid contamination of the sterile dressing, it is not removed from the opened packet until the wound is ready to be covered.
Dressings used to control bleeding must be bulky to ensure that adequate pressure is applied over the injured area. The most common dressing is made of combined wool or cellulose, covered in a light cotton woven fabric, and these are generally known as ‘combine dressings’.
Some major wound dressings consist of a sterile combine dressing with attached bandage. They are ideal to fill crater wounds or to control severe bleeding.
Sterile gauze squares are used mainly for cleaning a wound. Cotton wool should NOT be used because of loose cotton fibres that might stick to the wound during healing.
Sterile Non-Adherent Dressings
Very light dressings are used on a minor wound to aid healing and most have a non-adherent surface. A non-adherent dressing is often covered on one or both sides with a plastic film containing many perforations. If only one side has a plastic film, that is the side to be placed against the wound. This allows fluids to pass through into an absorbent layer, to keep the wound dry.
Other types of non-adherent dressing have a special synthetic coating on one or both sides to prevent adhesion to the wound surface. The non-adherent layer is always placed against the wound. To reduce confusion and incorrect use, some manufacturers make both sides non-adherent.
Non-adherent dressings are used for extensive surface wounds such as an abrasion (graze) or burn.
Improvised Dressings
In an emergency a dressing may be improvised from a range of materials. To control bleeding a bulky pad may be made from a bundle of several facial tissues or from any clean, non-fluffy material.
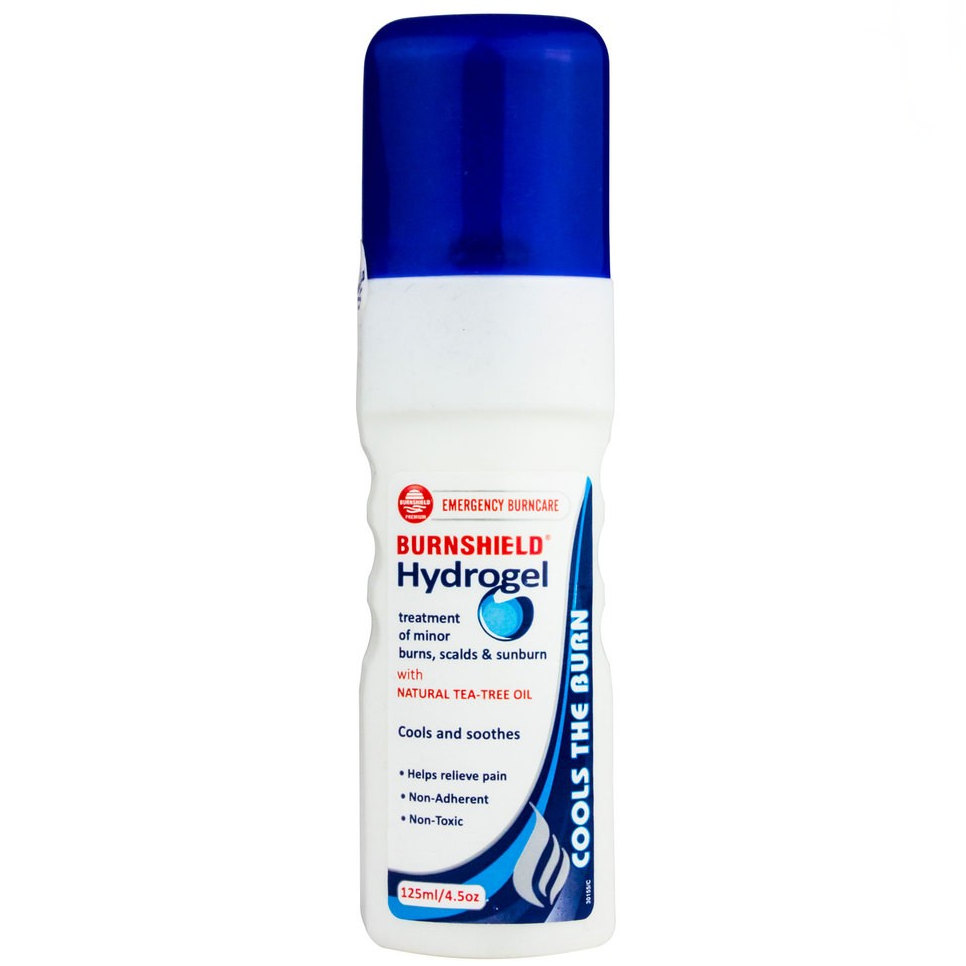
For a minor burn or scald, a piece of clean plastic kitchen wrap may be used initially. However, if the burn is serious, it is vital to use only sterile coverings to avoid the risk of infection. Cooling should be continued until a sterile dressing is available.
Bandages
Roller bandages
Roller bandages vary greatly depending on how they are to be used.
A roller bandage is used to:
- hold a dressing in place on a wound
- maintain pressure over a bulky pad to control bleeding
- support an injured limb or joint
- apply pressure to a limb
Roller bandages are made from lightweight cotton, crepe or elasticated crepe, depending on the pressure to be achieved. A lightweight cotton bandage is used to hold a dressing in place, whereas a crepe or elasticated crepe bandage is used for applying support or firm pressure to a soft tissue injury.
Applying Roller Bandages
A roller bandage needs to be chosen carefully to ensure that it is the correct width for the body part involved. As a general guide, the following widths are recommended:
- Lower arm, elbow, hand and foot – 7.5cm
- Upper arm, knee and lower leg – 10cm
- Large leg or trunk – 15cm
It is best to use a bandage with some degree of stretch in the weave. This will make the bandage easy to use and more likely to stay in place for many hours. However, the correct application technique is essential to provide comfort and adequate support for the affected part.
Basic Steps to Successful Use of a Roller Bandage:
- Bandage the part in the position of greatest comfort to the patient. Support the part adequately before starting to apply the bandage.
- Hold the tightly rolled bandage with the ‘head’ of the bandage on top and wrap the ‘tail’ around the body part without unrolling more than a few centimetres at a time.
- Begin with a locking turn to hold the start of the bandage securely under each following turn.
- Work from the middle of the body or limb in an outwards direction.
- Work from the narrowest part below the dressing and work upwards.
- Ensure that each turn covers two-thirds of the previous turn.
- Cover totally any dressing and padding used.
- Finish with a straight turn at the end of the bandage.
- Secure the bandage with a safety pin or adhesive tape. Avoid the use of metal clips because they are less secure and can fall out during activity.
Applying a Roller Bandage to the Lower Arm or Leg:
- Apply a dressing or padding over the affected area.
- Start with a diagonal, locking turn below the dressing or padding to secure the dressing.
- Continue up the limb, covering two-thirds of each previous turn.
- Finish with a straight turn to secure the bandage and fasten it with a pin or adhesive tape.
Applying a Roller Bandage to the Elbow or Knee:
- Apply a dressing or padding over the affected area.
- Start with a full turn over the point of the elbow or knee to secure the bandage.
- Make a second turn just below the first, exposing one-third of the initial turn over the point of the elbow or knee.
- Make a third turn just above the first, again exposing one-third of the initial turn over the point of the elbow or knee.
- Continue with one or two more turns alternately working from below to above the affected joint, until the dressing or padding is fully covered.
- Avoid any extra turns that will cause pressure on the inside surface of the joint.
- Finish with a full turn above the elbow or knee and secure the bandage with a safety pin or adhesive tape.
Applying a Roller Bandage to the Hand or Foot:
- Apply a dressing or padding over the affected area.
- Start with a diagonal, locking turn around the wrist or foot.
- Carry the bandage across the back of the hand or foot to the base of the little finger or little toe and then make a complete turn around the fingers or toes.
- Make another turn across the back of the hand or foot from the fingers/toes to the wrist/ankle.
- Repeat these turns working upwards with each turn until the dressing or padding is covered.
- Finish with a circular turn around the wrist ankle and secure the bandage with a safety pin or adhesive tape.
Triangular Bandages
Triangular bandages are usually made from a metre square of cotton or calico that is cut in half diagonally. The bandage can be used in various ways as a sling or for immobilisation of broken bones and soft tissue injuries.
Arm Sling
This sling is used to support a lower arm or hand injury and for rib or collarbone fractures.
- Encourage the patient to hold the affected arm across the body in the position of greatest comfort.
- First hold the bandage with the base running down the centre of the body and the point to the elbow on the affected side. Gently slip the top point under the supported arm and wrap it around the back of the neck until it rests on the shoulder of the affected side.
- Lift up the lower point and take it to meet the upper point at the side of the neck on the affected side.
- Use a reef knot to tie the ends together just above the collarbone to avoid any pressure on the back of the neck.
- Adjust the sling so that the fingertips are clearly visible and then bring the point forward and fasten it to the sling with a safety pin.
- Finally, check the circulation in the fingers and compare the tissue colour with the fingertips on the unaffected arm. If there are any signs of an impaired circulation, loosen or remove the sling and any underlying bandages.
Elevation Sling
This sling is used for an arm or finger injury where the patient needs the hand and arm to be held in an elevated position.
- Encourage the patient to hold the affected arm across the body with the fingers pointing to the opposite shoulder tip.
- First hold the bandage with the base running down the centre of the body and the point to the elbow on the affected side. Gently place the bandage over the supported arm and carry the top end around the front of the neck until it rests on the unaffected shoulder.
- Gently wrap the lower half of the bandage along the affected arm. Carry the free end of the bandage from the elbow across the back to the opposite shoulder tip.
- Gently twist the top point around the fingers, but avoid placing pressure on any injury. Tie the two ends together with a reef knot and place it just above the collarbone to avoid any neck pressure.
- At the point of the elbow smooth the loose fabric forwards along the arm under the sling. Secure the sling firmly at the elbow with a safety pin or tape.


